Filed November 16, 2026
How to turn a vigor map into a variable-rate fungicide script
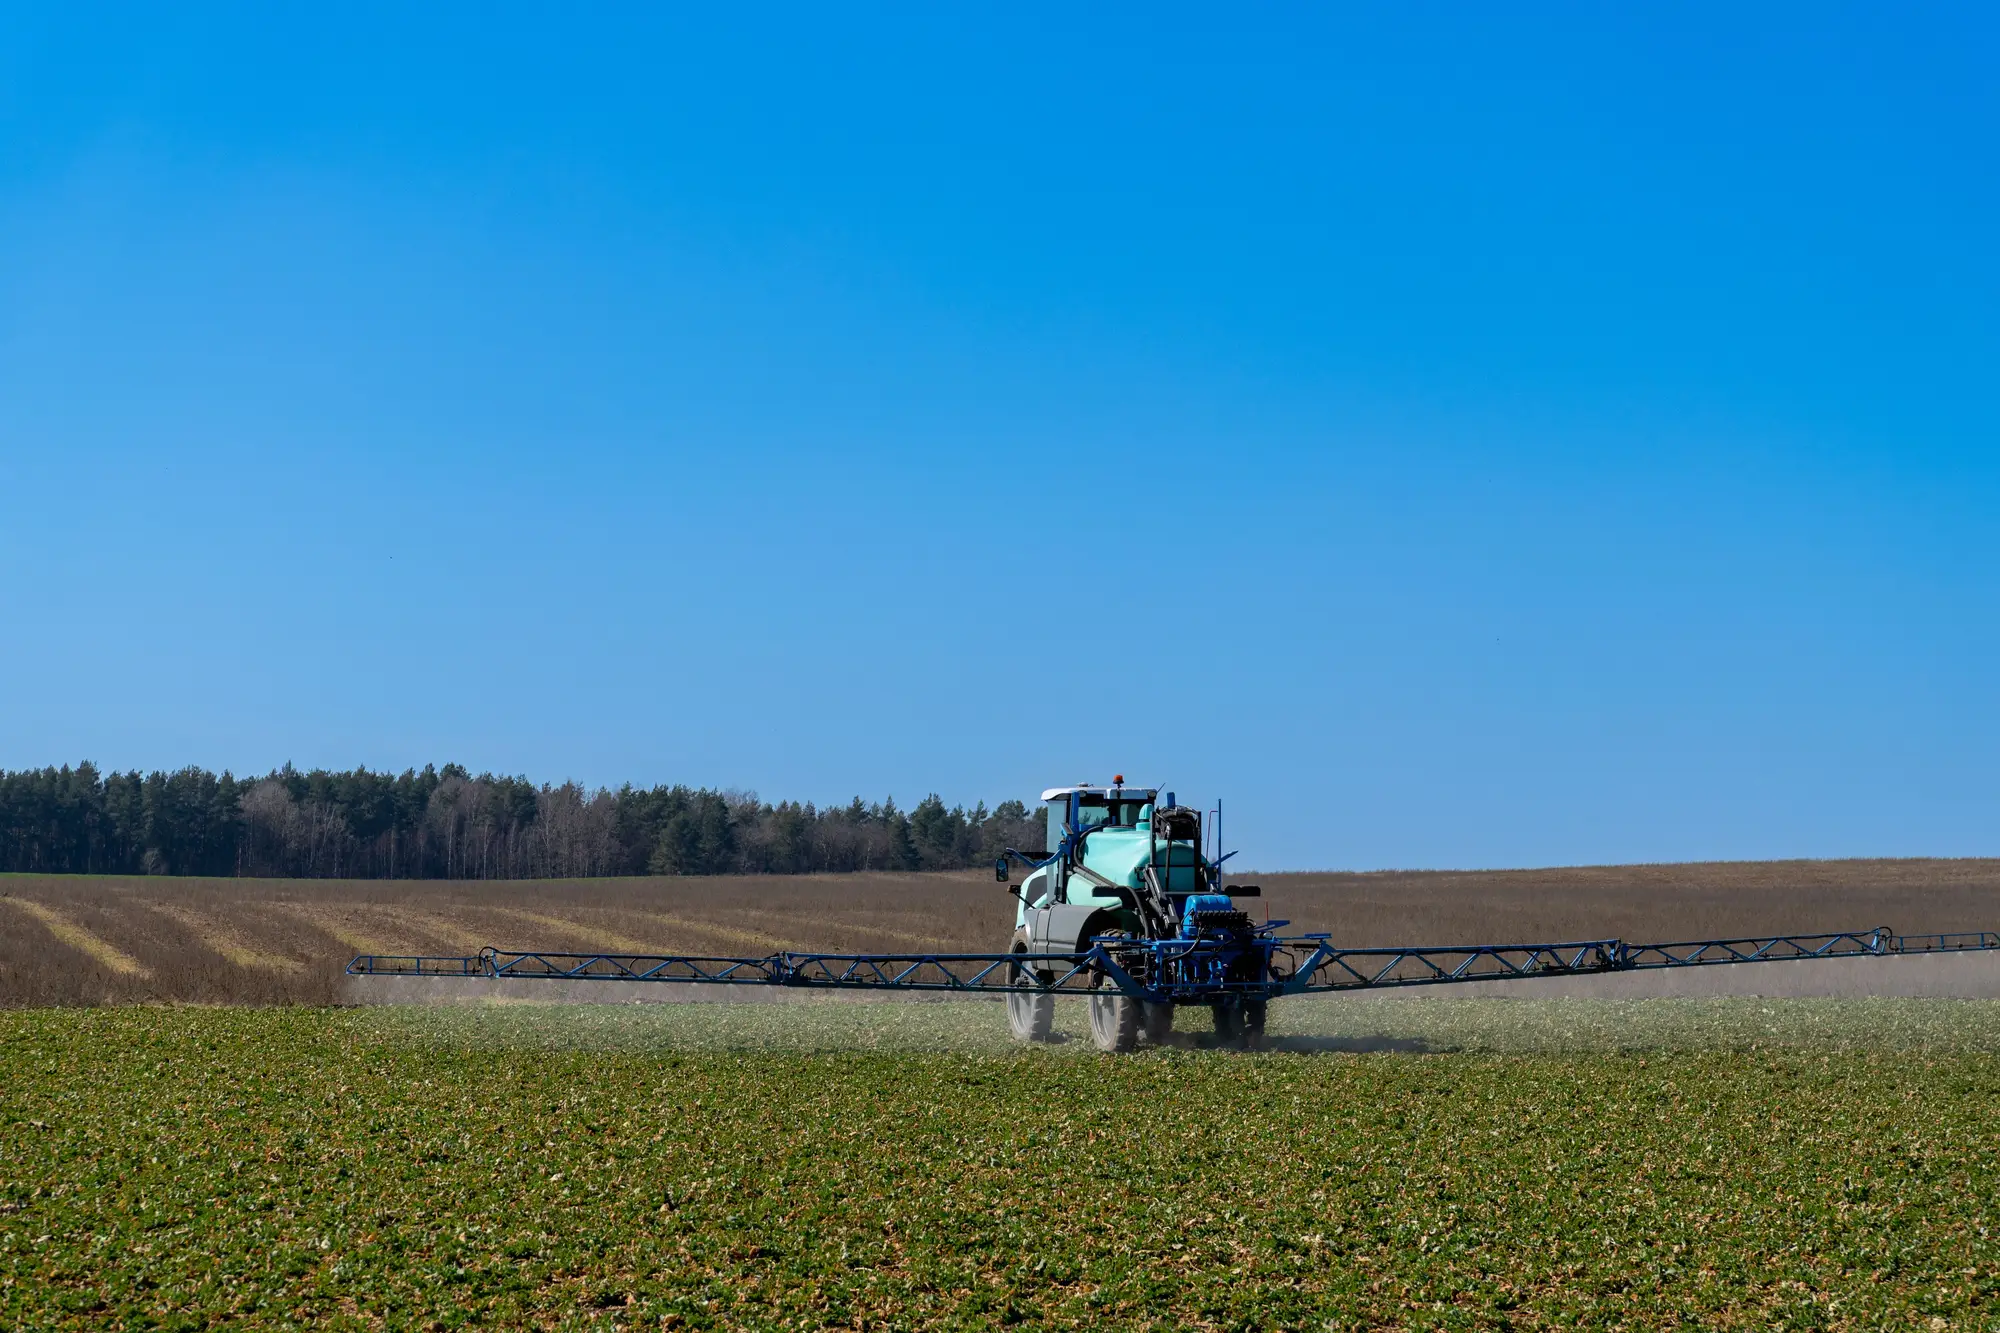
Most retailers already have the imagery. The hard part is getting from a vigor map on a screen to a rate file the sprayer controller will load without throwing an error. Here's the sequence that works for a fungicide script, step by step, with the places growers push back built in.
Pick the pass that matters for disease risk
Not every biomass pass in the season tells you the same thing. For fungicide zones you want a pass taken close to canopy closure, somewhere around V8 to R1 in corn or R1 to R3 in soybean, depending on what you're spraying for. Earlier passes mostly show you emergence and stand issues, not disease pressure. A pass pulled too late, after the canopy has already started breaking down from disease or stress, just shows you the damage instead of the risk that caused it.
If you're running weekly passes through the season, this is the one place timing matters more than frequency. Grab the biomass pass from the week canopy closes over the row middles. That's when dense vigor starts trapping humidity at the leaf level, which is the mechanism you're trying to zone for.
Read vigor as canopy density, not just "healthy vs. not"
This is where a lot of first scripts go wrong. A high-vigor zone isn't automatically a low-disease-risk zone. For foliar diseases like gray leaf spot, tar spot, or white mold, dense canopy holds moisture longer at the ear leaf and lower canopy, which is exactly the microclimate those pathogens want. So your high-vigor zones often need the higher fungicide rate, not the lower one, while a thin, stressed zone with poor canopy closure might carry less risk simply because it dries out faster.
Low vigor from compaction, drainage, or a planter skip reads very differently than low vigor from drought stress on a sandy knob. The map alone won't tell you which is which. You need to walk the zone boundaries, or at least drive them, before you commit a rate to them. This is the step growers remember when a script performs well: somebody looked at the field, not just the raster.
Build your rate bins
Once you've separated real disease-risk variability from background noise (soil type, drainage, old field boundaries), bin the field into three zones: low, medium, high. Three bins is usually enough to be workable on a controller without asking an applicator to chase five different rates across one pass. Assign your base fungicide rate to the medium zone, step up for the dense, high-humidity-risk zones, and step down or hold for the zones where canopy never closed and risk is genuinely lower.
Write the rate logic down before you build the file, not after. "High vigor plus history of tar spot pressure in this field gets the top rate" is a sentence you can defend to the grower at settlement. "The computer said so" is not.
Export it so the controller will load it
The zone logic doesn't matter if the file won't load. Export to whatever format your rate controller takes, whether that's an ISOXML package or a shapefile with the rate attribute the display expects. Check it on a desk before it's on a sprayer in the field; a prescription that opens as one flat zone because the attribute field didn't map right is a wasted trip and an unhappy applicator.
This is the exact workflow Field Variability is built to shortcut: it takes that weekly biomass pass and turns the vigor gradient straight into a per-zone fungicide rate file your controller can load, instead of you building bins in a spreadsheet every Tuesday night during spray season.
If your zone-building is still a manual export-and-bin exercise every week, it might be worth seeing what a script pulled straight from the biomass pass looks like.